Keep Your Cool: The Ultimate Guide to Cleaning Your AC Unit
Keep Your Cool: The Ultimate Guide to Cleaning Your AC Unit
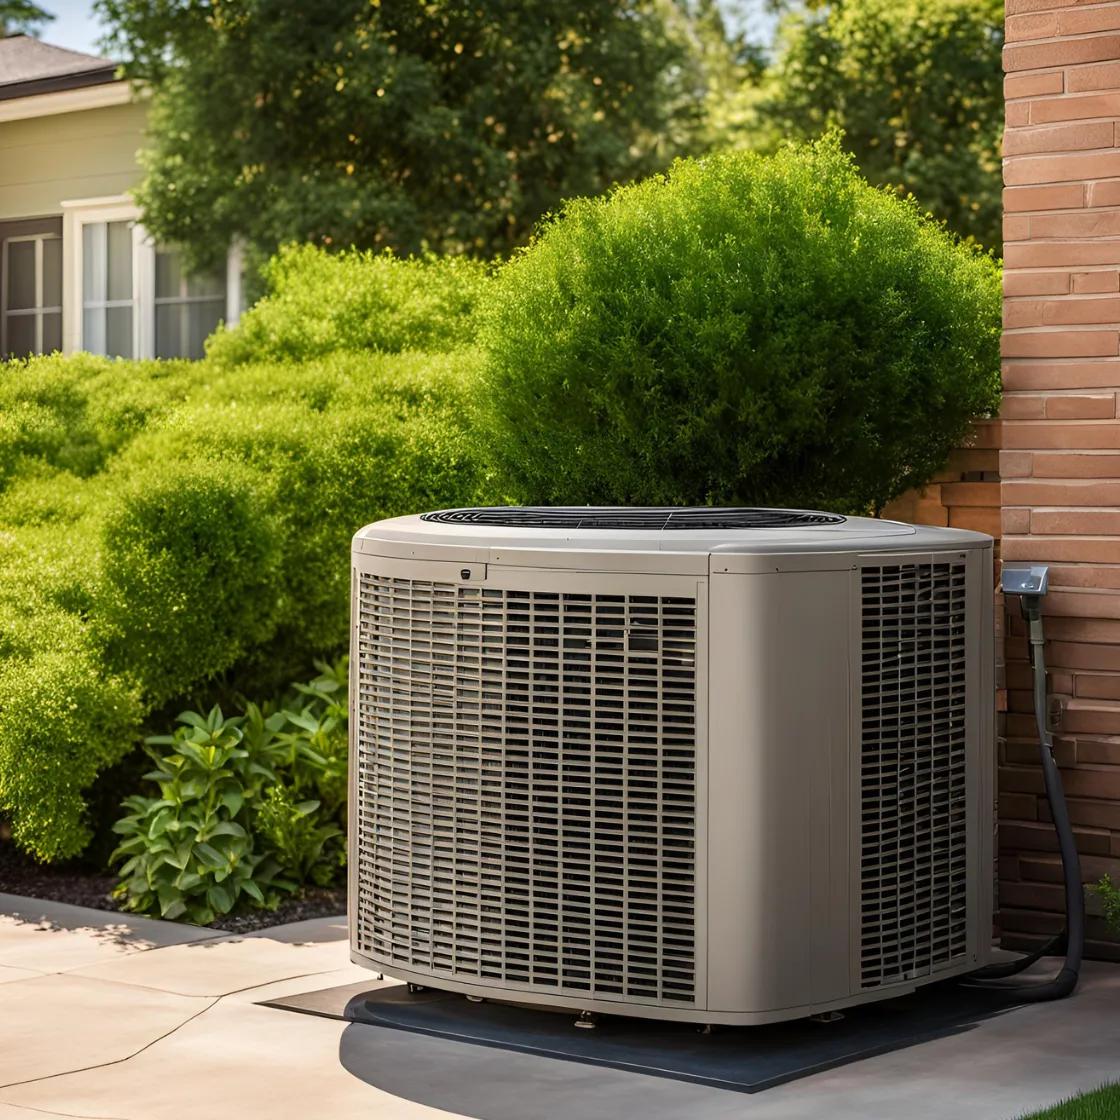
Did you know that a dirty air conditioning (AC) unit could be draining your wallet without you even realizing it? Many homeowners assume that if their AC looks clean, it's working efficiently. But that couldn't be further from the truth! Your AC might be struggling due to hidden dirt and debris, forcing it to work harder and increasing your electricity bill. In this guide, we'll break down the ultimate AC cleaning technique to keep your unit in top shape—all while saving you money.
Why Cleaning Your AC Unit Matters
When your AC coils and fins are clogged with dirt, air struggles to pass through efficiently. This leads to:
Higher energy bills
Increased wear and tear on your system
Poor cooling performance
Shortened lifespan of your unit
Cleaning your AC is a simple way to improve efficiency, avoid unnecessary repairs, and even extend its lifetime. Let's dive into how you can do it yourself.
Step-by-Step Guide to Cleaning Your AC Unit
1. Turn Off the Power
Before doing anything, safety first! Turning off your thermostat isn't enough—you need to disconnect the power. Locate the disconnect switch near your AC unit, pull it out, and set it aside.
2. Remove the AC Unit Lid
Your AC unit has a series of screws on its top cover, usually around 8-12. Use a 5/16-inch screwdriver (recommended: Klein 5/16 driver) to unscrew them. Avoid using an impact drill when reattaching the lid, as overtightening can strip the metal.
3. Inspect the Coils
Many people assume cleaning the AC from the outside is enough. However, units with two rows of coils require deeper cleaning. Removing the lid allows you to reach the inner coil row for a thorough cleaning.
4. Vacuum Debris from the Drain Pan
At the bottom of your AC unit, small drainage holes allow water to escape. Over time, leaves, dirt, and even small insects or frogs (!) can clog these holes. Use a shop vacuum to suck out debris for better drainage.
5. Apply Coil Cleaner
Using a dedicated coil cleaner (recommended: high-quality AC coil cleaner), spray the coils from inside and outside. Wear gloves and safety glasses for protection as the cleaner may splash.
6. Let It Sit and Then Rinse
Allow the cleaner to soak for 5-8 minutes before rinsing. Use a garden sprayer on the shower setting to avoid damaging the delicate fins while effectively removing grime and debris.
7. Clean the Drain Pan
Once the coils are clean, rinse out any leftover soap from the pan at the bottom of the AC unit. This ensures that no cleaner residue affects future performance.
8. Reassemble the AC and Restore Power
After cleaning, carefully place the lid back onto the unit, ensuring it overlaps correctly with the sides. Secure it with screws (hand-tightened), then reconnect the power.
The Results? A More Efficient AC and Lower Bills!
Once you've completed these steps, you'll likely notice your AC running more efficiently and cooling faster. This not only reduces energy consumption but also extends the lifespan of your unit—saving you money on both electricity and costly repairs.
Final Thoughts
Cleaning your AC might seem like a chore, but it's a small investment of time that leads to huge savings. By taking just an hour to remove built-up dirt and debris, you can improve performance, enhance efficiency, and keep your system running like new. Want more AC maintenance tips? Check out our latest guide on how to maximize the performance of your AC and heat pump.